Setup
1. Basics
What is NinjaConnects?
NinjaConnects enables you to connect algo/automated strategies from TradingView to NinjaTrader 8. This bridge allows you to submit trades originated from TradingView with JSON triggers to any account in NinjaTrader 8. For further details visit https://NinjaConnects.com/
- Download NinjaConnects to your computer from NinjaConnects Download Link
- Install the NinjaConnects to NinjaTrader 8. Please watch this video at YouTube How to import an indictor to NinjaTrader 8
- You can use your own domain name, just setup CloudFlare Tunnel on the computer that is runing NinjaTrader with the NinjaConnects. Or read about setting up a CloudFlare Tunnel to your computer running NinjaTrader 8
- Alternately, you can read about how to setup ar NGROK Tunnel from a NGROK sub-domain checkout this URL:
TradingView can send webhook triggers from strategies to a URL only.
Example of a URL is: https://jimrides.com.
You can obtain a domain at https://CloudFlare.com, as at this point we have tested NinjaConnects with the tunnels offered by CloudFlare. For a domain registered at CloudFlare, there is no additional costs to use a tunnel. You do not require a web site or a server.
Assuming you have this domain : https://jimrides.com
You need a tunnel from this domain name [URL] to your computer so that TradingView[TV] can communicate with NinjaConnects and in turn to the NinjaTrader 8 [NT8] on your computer.
Your Connect string in this case will look like:
https://NinjaConnects.jimrides:35426/FcWebHook/
Let us first complete the setup on the TradingView then we will setup a Tunnel to go with it on the CloudFlare with a domain name of your own to your own computer. After that we will setup a tunnel using NGROK.
Please note that you would need to setup only one computer to receive signals or Webhook triggers from Tradingview. We are exposing only one computer over the internet. Any other computer on your LAN or WAN, which will be used for trading hub needs not to have these tunnels. For setting up additional computers with NinjaConnects please visit:
https://support.ninjaconnects.com/lanwansetup
2. TradingView Setup
You will define this connection in the TradingView.
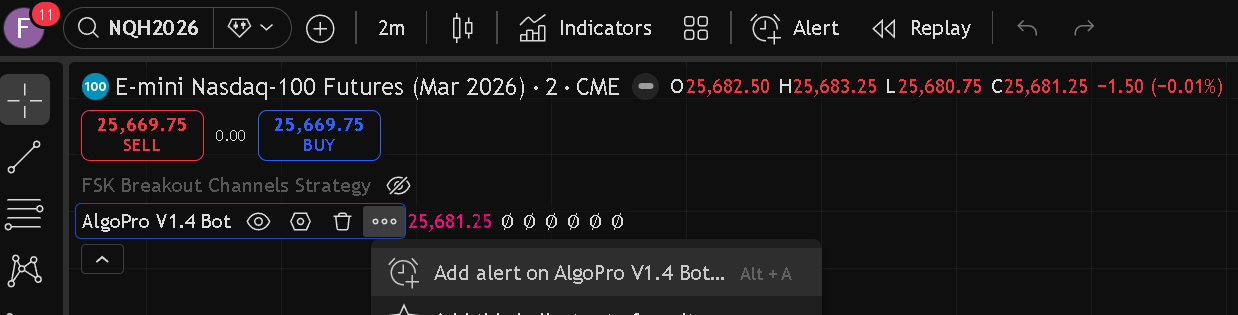
On your TradingView click on the Strategy you want to automate. Locate and click 3 dots, as shown below where you see “More”.
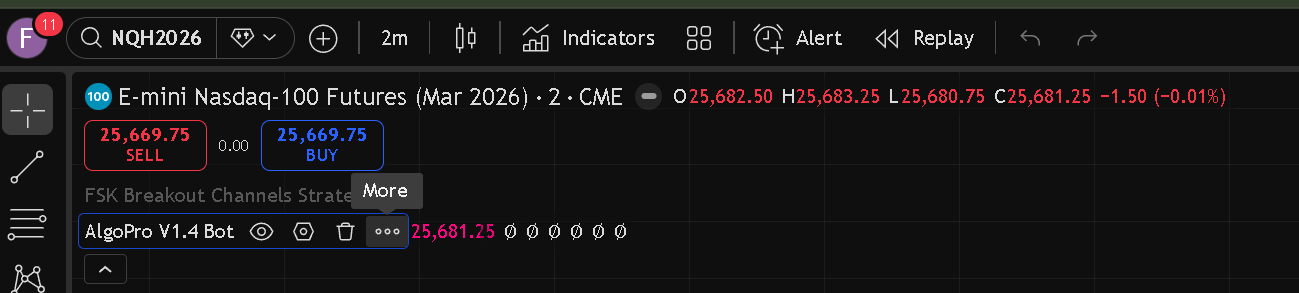
On the pop up Window, select:
Add Alert on the name of the strategy you are using, in this case “AlgoPro V1.4”.
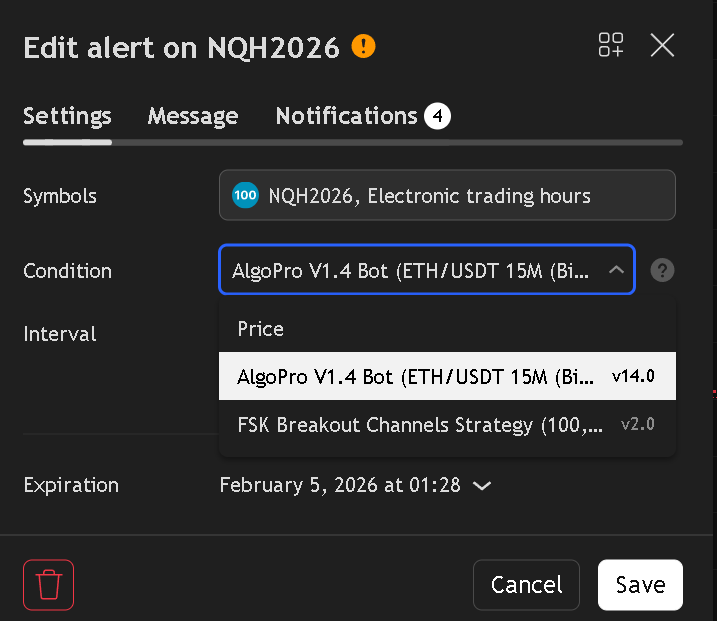
THis will open a new PopUp Window. Select the strategy you want to use. In this case I chose AlgoPro 1.4 Bot. All triggers from this strategy will be sent to the URL, we are going to create at CloudFlare.
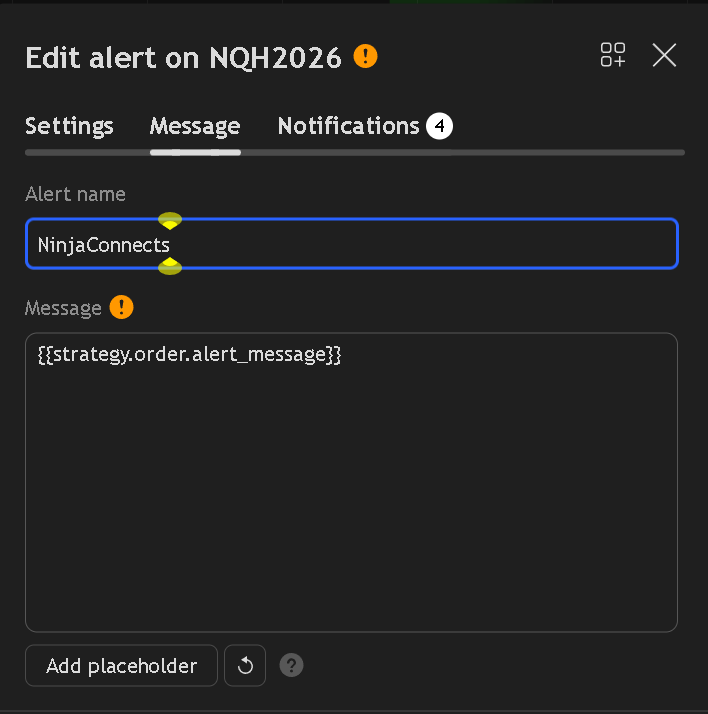
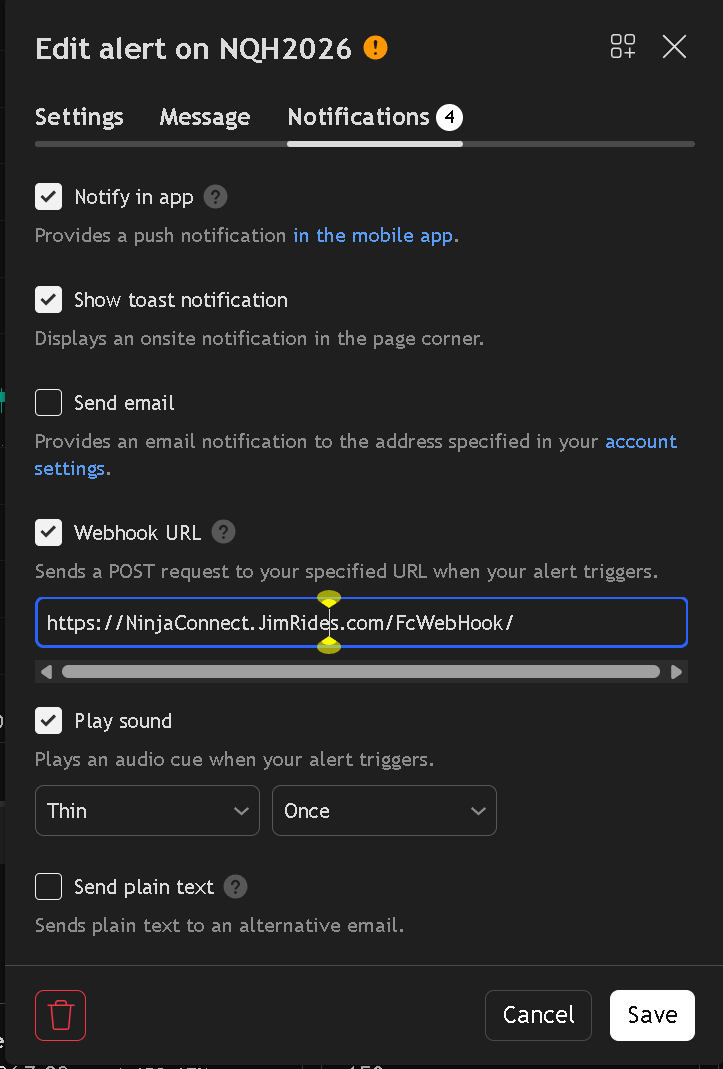
On the Message Tab, set
Alert Name : NinjaConnects
Message: {{strategy.order.alert_message}}
On the Notification Tab set the following URL but change the JimRides.com with your domain name. It is used as an example here. You must use NinjaConnects and /FcWebHook/ exactly as shown below, for the reason that NinjaConnects ignores any triggers received by it which do not include these two keywords.
In the TradingView Set Webhook URL as following: https://NinjaConnects.JimRides.com/FcWebHook/
Setting Up Trigger Commands
Here is how you set up triggers or commands for actions defined by your strategy. A strategy may offer more or less commands. NinjaConnects receives and executes the following actions:
- Enter_long: Open Long Command
- EnterShort: Open Short Command
- LTP1..LTP4: Long Take Profit 1 through 4
- STP1..STP4: Short Take Profit
- LSL: Long Stop Loss
- SSL: Short stop loss.
Click on the Strategy you intend to use and click on the Gearrr icon as shown under Settings below.
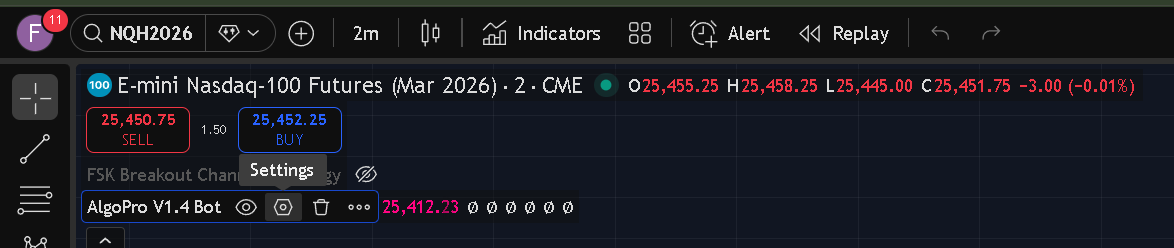
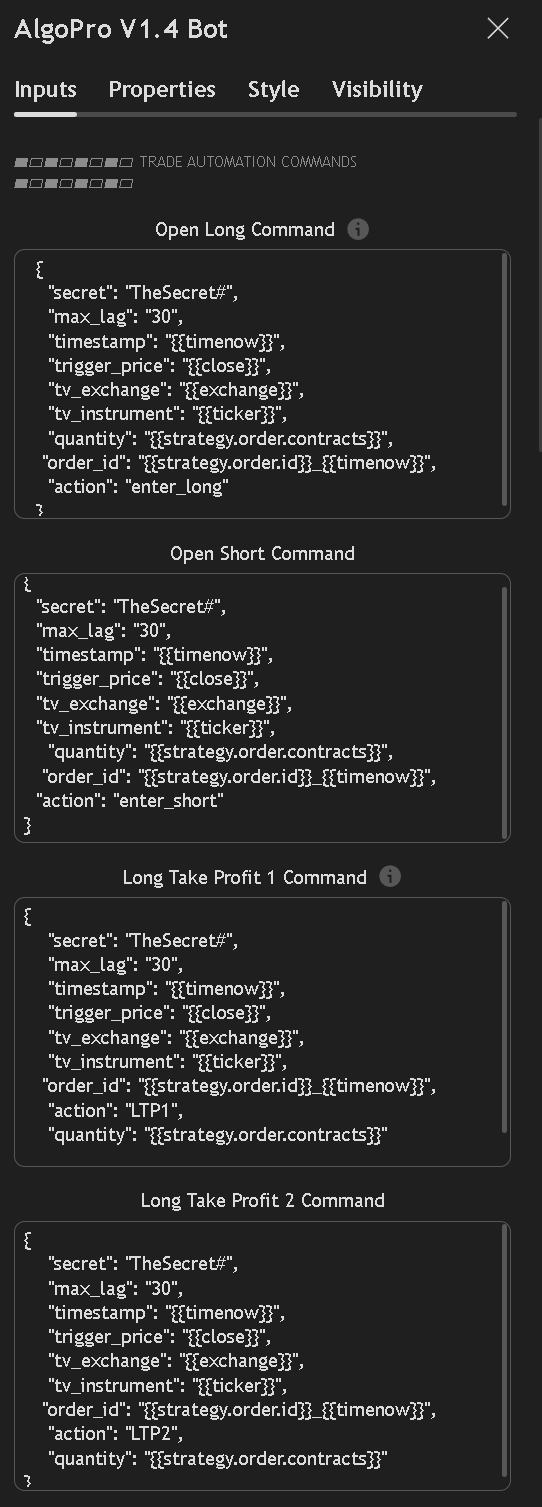
This will open the dialog box for “Trade Automation Commands”
Enter the following JSON command for each of the boxes below.
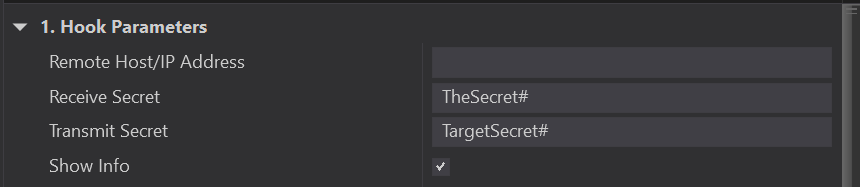
Make sure that you define a unique secret here in TradingView. You will need to define this exact same secret in NinjaConnects
Open Long Command Use : Action : enter_long
Open Short Command use : Action : enter_short
Long Take Profit 1 : Action: LTP1
Long Take Profit 2 : Action: LTP2
Long Take Profit 3 : Action: LTP3
Long Take Profit 4 : Action: LTP4
Short Take Profit 1 : Action: STP1
Short Take Profit 2 : Action: STP2
Short Take Profit 3 : Action: STP3
Short Take Profit 4 : Action: STP4
Stop Loss Long : Action: LSL
Stop loss Short : Action: SSL
Define the Secret on the NinjaConnects. Receive secret must match the one on the Trading View.
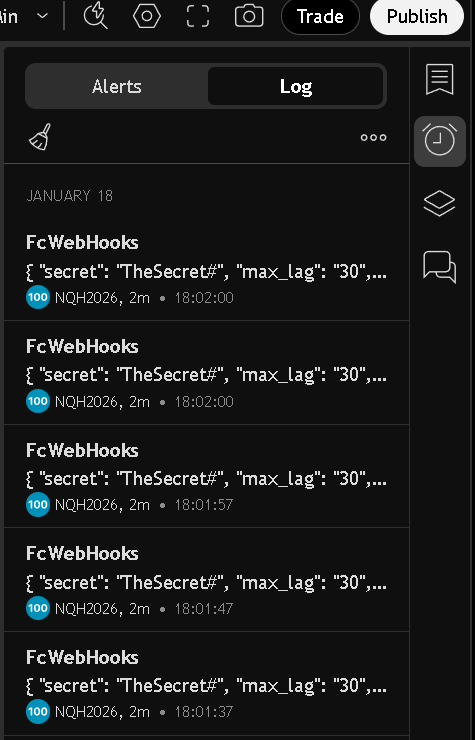
On TradingView, click on the clock sign on the top right, to reveal the Triggers/WebHooks Panel. On the Log tab, you can view the log of the Webhooks sent out and can reconfigure any alerts on the Alerts tab.
This completes the setup on the TradingView.
3. How to setup NGROK Tunnel from internet to your computer
For Step-by-Step Setup:
Sign Up & Download:
- Go to ngrok.com and sign up for a free account.

- Choose Skip for Now:
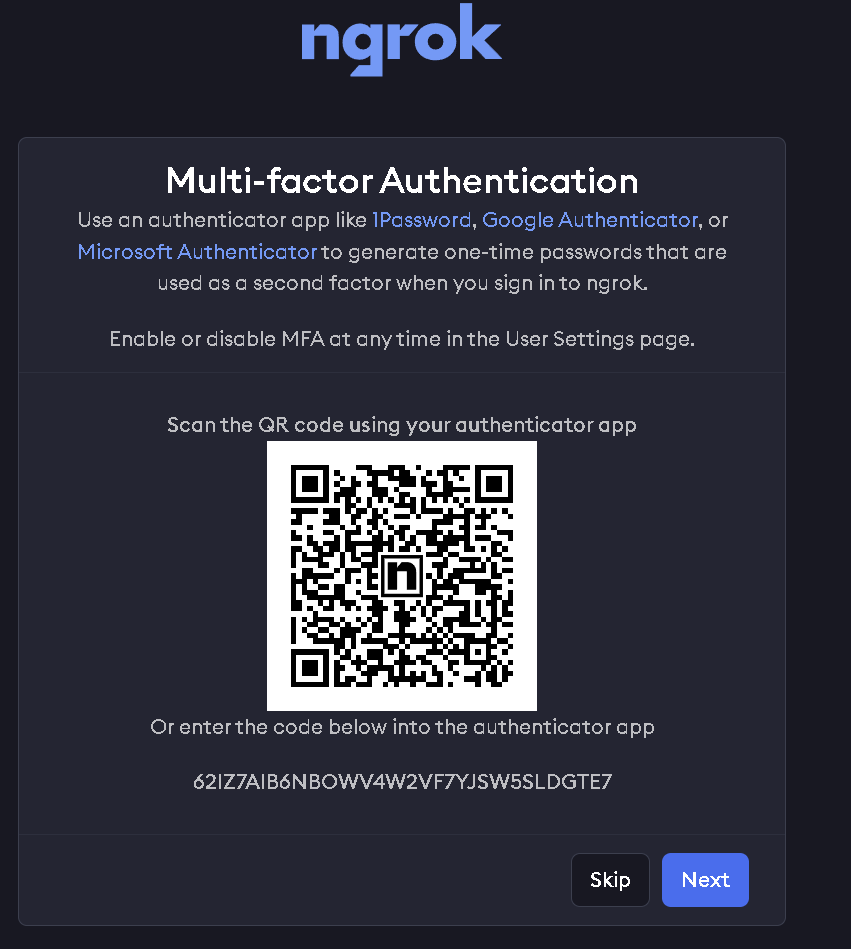
- Log in to your dashboard and download the ngrok client for Windows. It will prompt you if you are using NGROK for Development or Production: Choose Production
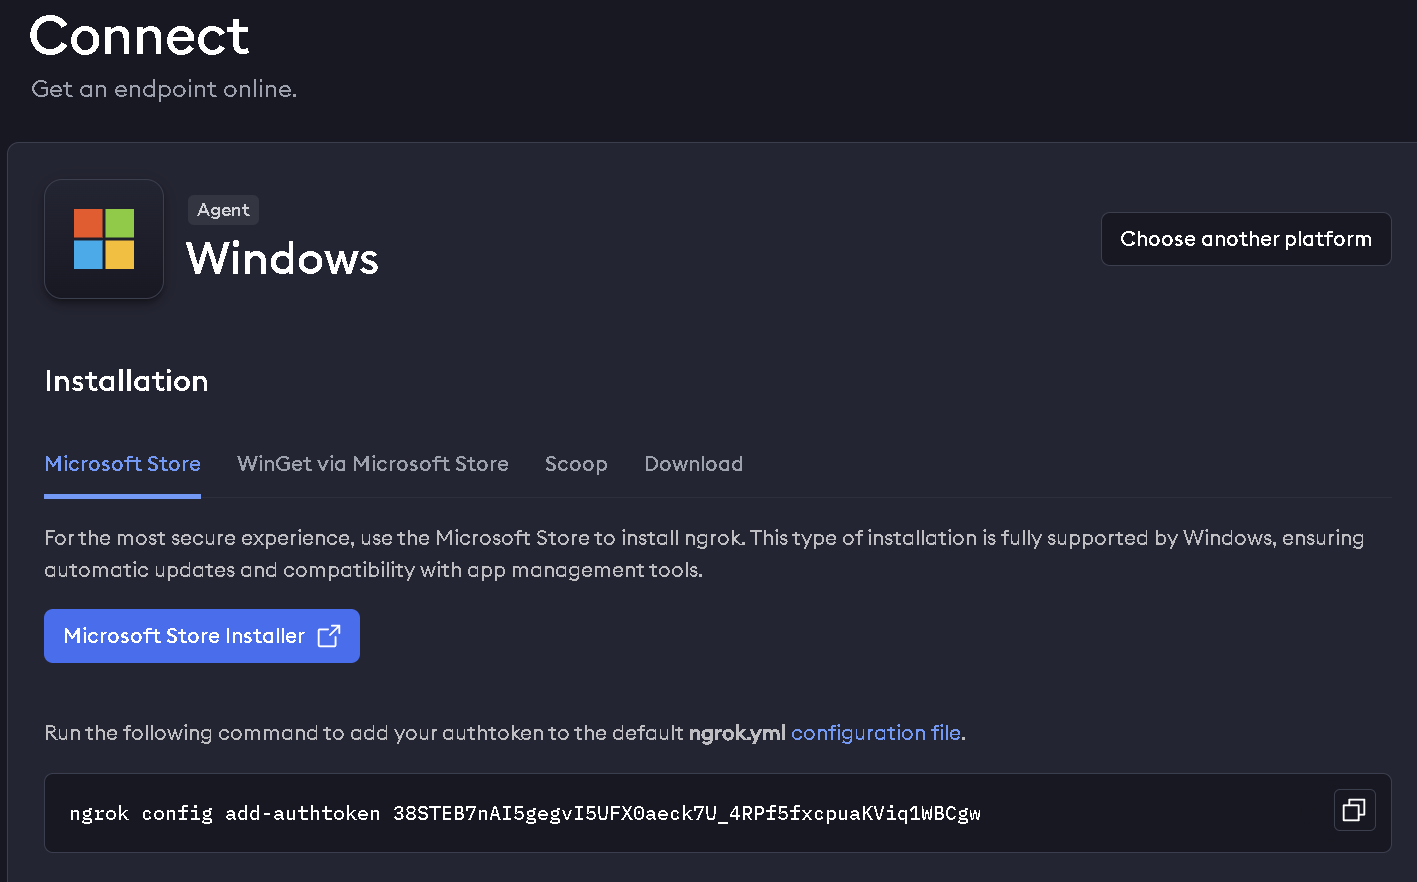
- Extract the downloaded ZIP file to a folder, for example, C:\ngrok.
- Copy and run the command shown below from th the web page.

Add to PATH (Optional but Recommended):
- Copy the path to the folder where you extracted ngrok.exe (e.g., C:\ngrok).
- Search for "Environment Variables" in Windows, select "Edit the system environment variables," click "Environment Variables," and then edit the Path variable.
- Add a new entry with the path you copied.
Connect Your Account:
- Open Command Prompt (CMD) or PowerShell.
deploy your app online
- Run the following in the command line.
- ngrok http 35426
Use the following connect string in the TradingView
https://muoi-salamandrine-mullishly.ngrok-free.dev/FcWebHook/
Instead of using the connect string as JimRids.com
Open PerShell as administrator and execute the following commands
Run PowerShell as Administrator and run the following command, change JimRides.com with your domain name as shown above to let windows know to pass the traffic from the tunnel to NinjaTrader and let NinjaCoNNects to use this port 35426
Replace Jimrids.com with your Domain. Issue the following command on Windows Power Shell as test orders.
You should see orders getting executed.
This completes NGROK tunnel setup. Enjoy!
4. Setup A tunnel on CloudFlare
Now TradingView will send Webhook Triggers commands to your the following URL:
https://NinjaConnects.JimRides.com/FcWebHook/
To receive these WebHook Trigers, we will setup a Tunnel from this domain name to the computer, which is running NinjaTrader with the NinjaConnects.
For a CloudFlare Document about how to create a Tunnel, Please visit:
https://developers.cloudflare.com/cloudflare-one/setup/
- Sign up here for a Cloudflare account ↗.
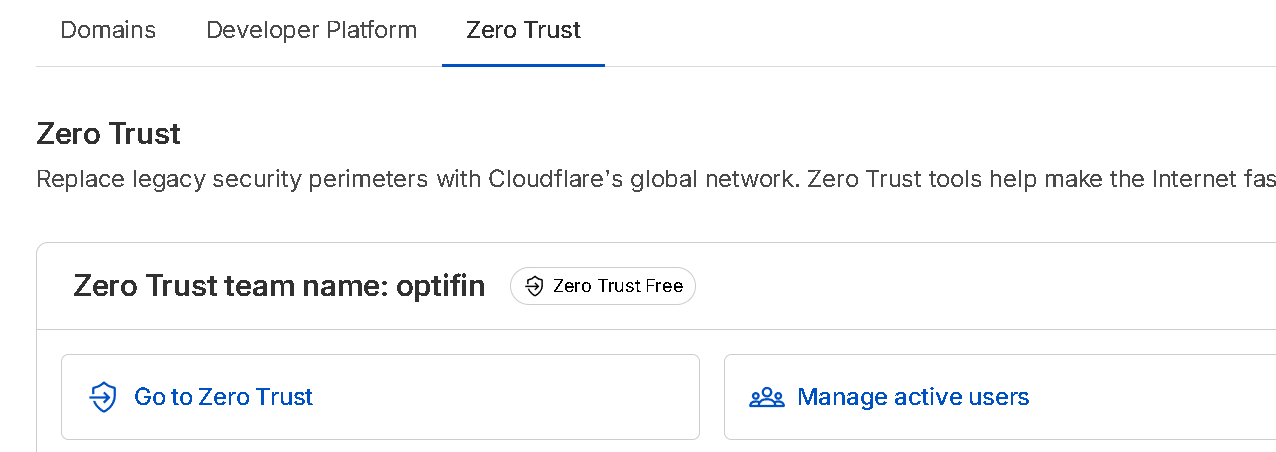
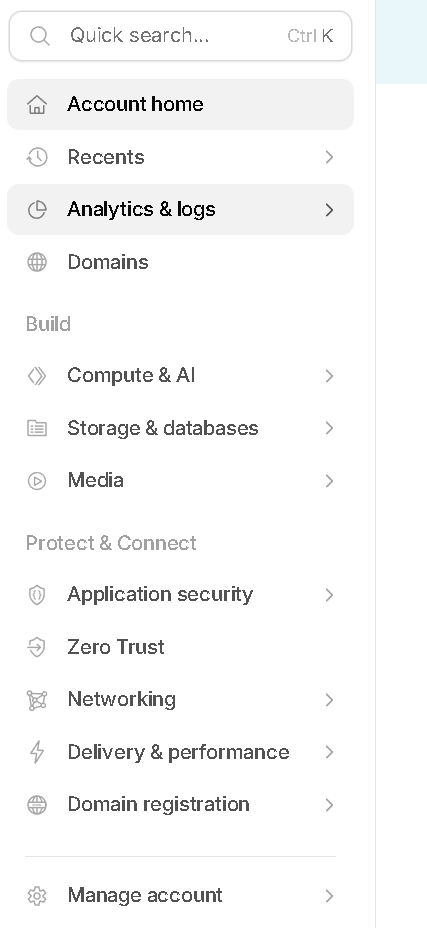
- In the Cloudflare dashboard ↗, select Zero Trust.
On CLoudFlare One ; on Overview Screen; Select a Team name of your choice and Choose Zero Trus tFree account:
Go to Zero Trust : https://one.dash.cloudflare.com/
- On the onboarding screen of ZeroTrust, choose a team name. The team name is a unique, internal identifier for your Zero Trust organization. Users will enter this team name when they enroll their device manually, and it will be the subdomain for your App Launcher (as relevant). Your business name is the typical entry.
You can find your team name in Cloudflare One ↗ by going to Settings.
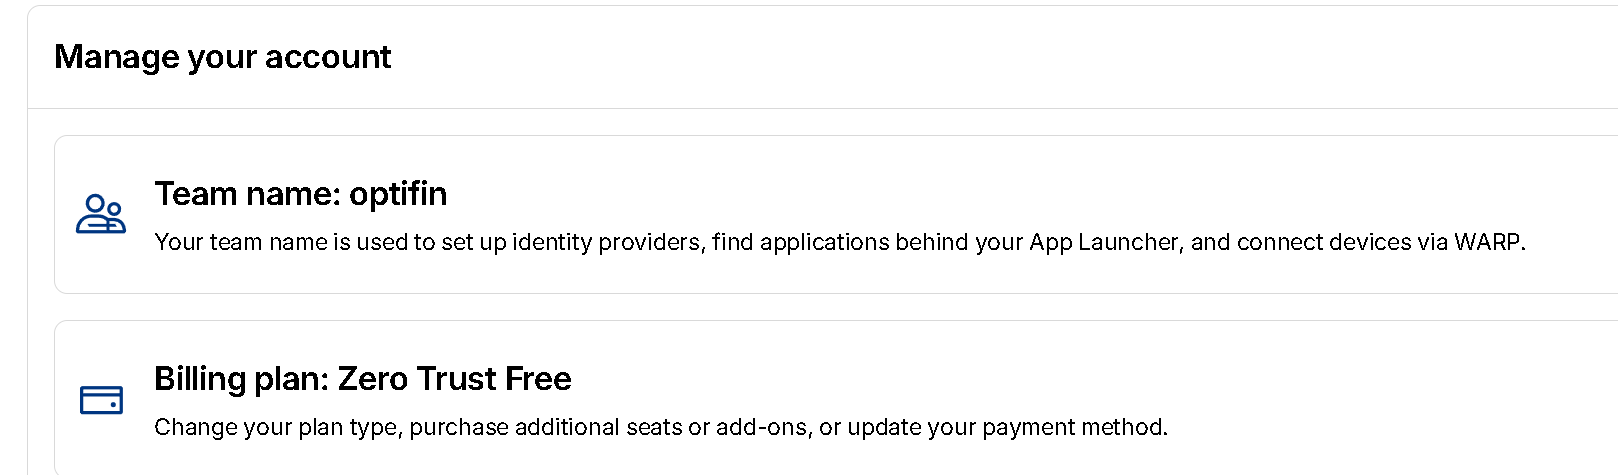
- Complete your onboarding by selecting a subscription plan and entering your payment details. If you chose the Zero Trust Free plan, this step is still needed but you will not be charged.
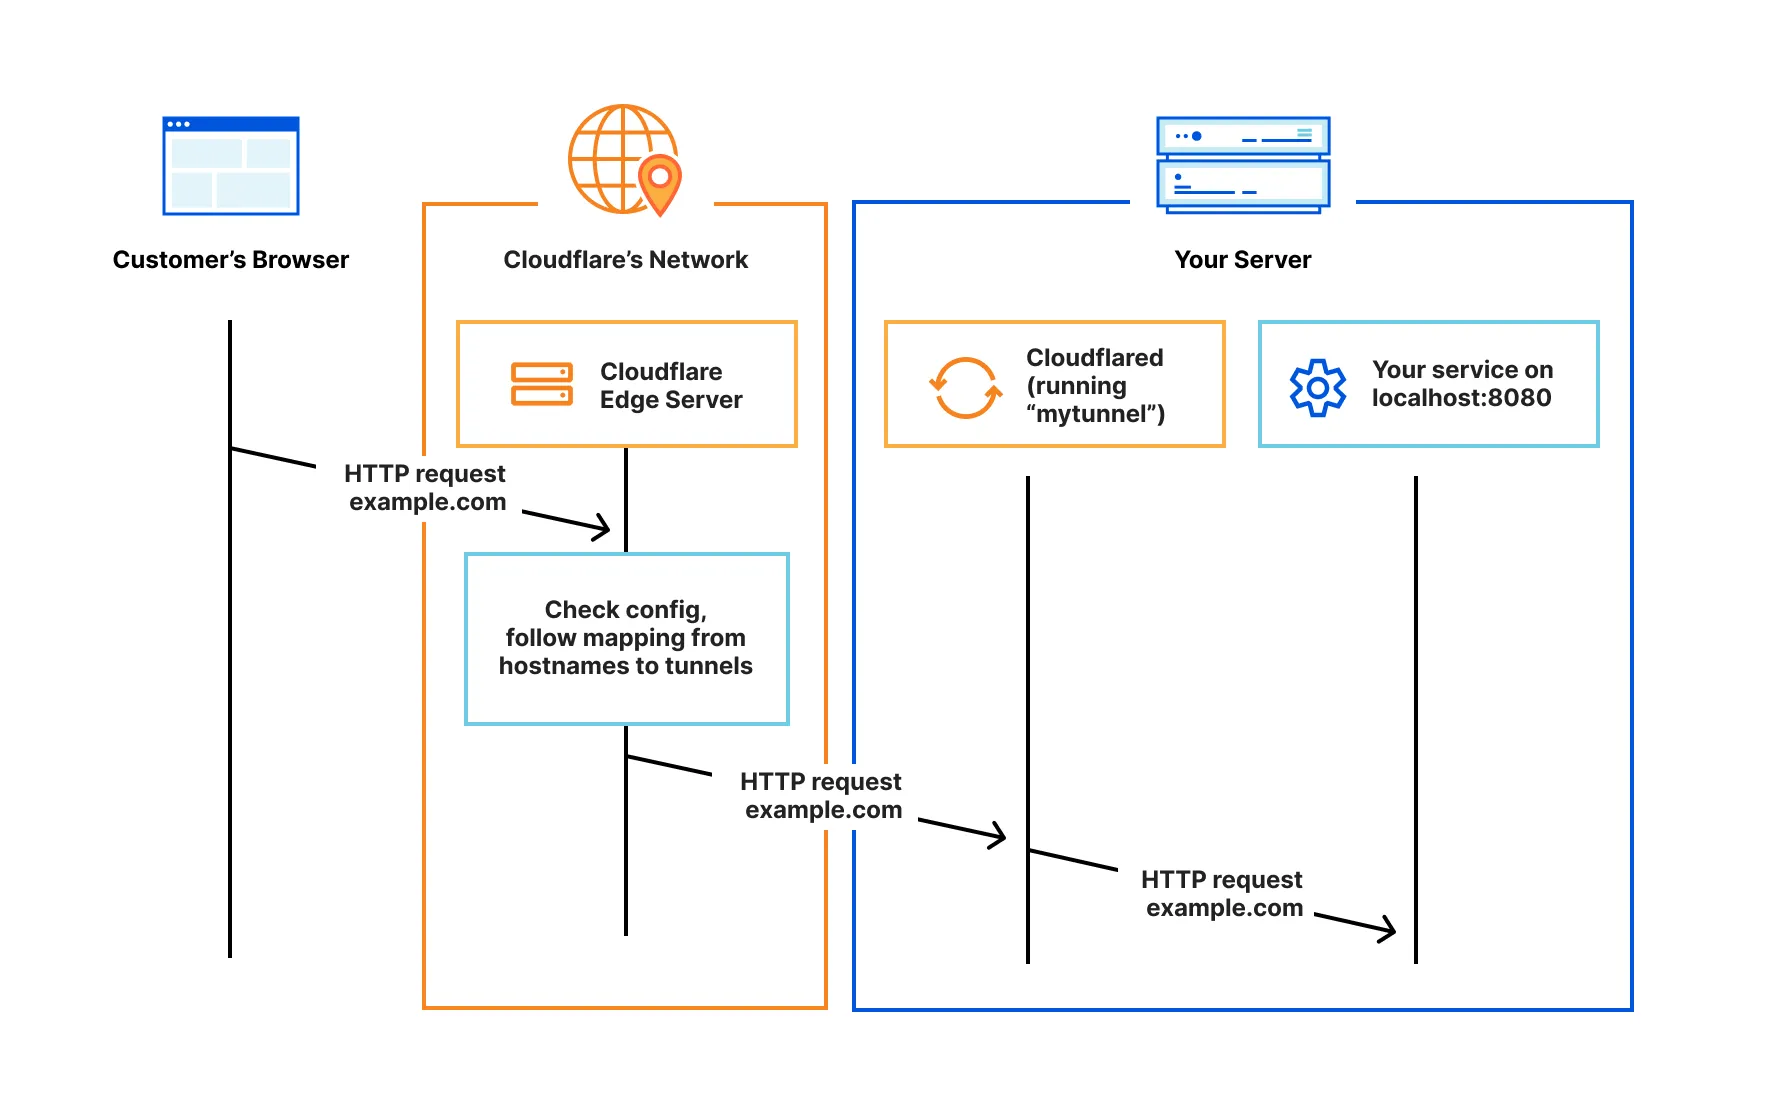
Create a Cloudflare Tunnel
To enable clientless access to your applications, you will need to create a Cloudflare Tunnel that publishes applications to a domain on Cloudflare. A published application creates a public DNS record that routes traffic to a specific address, protocol, and port associated with a private application. For example, you can define a public hostname (mywebapp.example.com) to provide access to a web server running on https://localhost:8080. When a user goes to mywebapp.example.com in their browser, their request will first route to a Cloudflare data center where it is inspected against your configured security policies. Cloudflare will then forward validated requests down your tunnel to the web server.
5. Create a tunnel
To create a Cloudflare Tunnel:
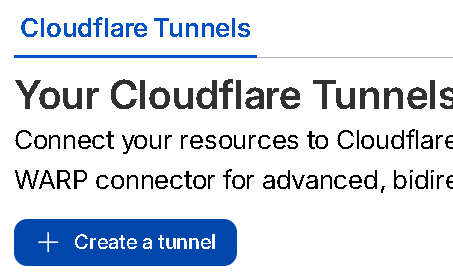
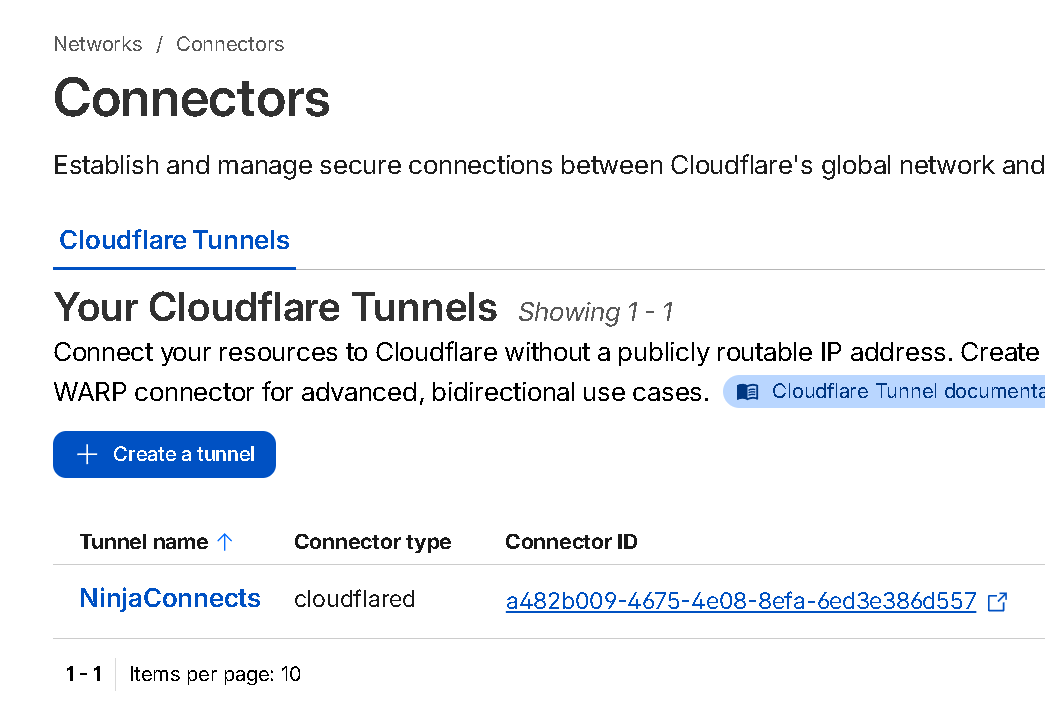
- Log in to Cloudflare One ↗ and go to Networks > Connectors > Cloudflare Tunnels.
- Select Create a tunnel.
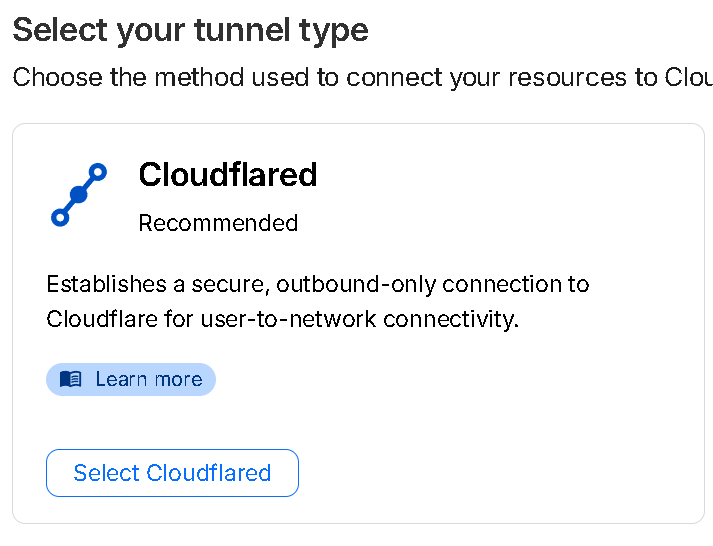
- Choose Cloudflared for the connector type and select Next.
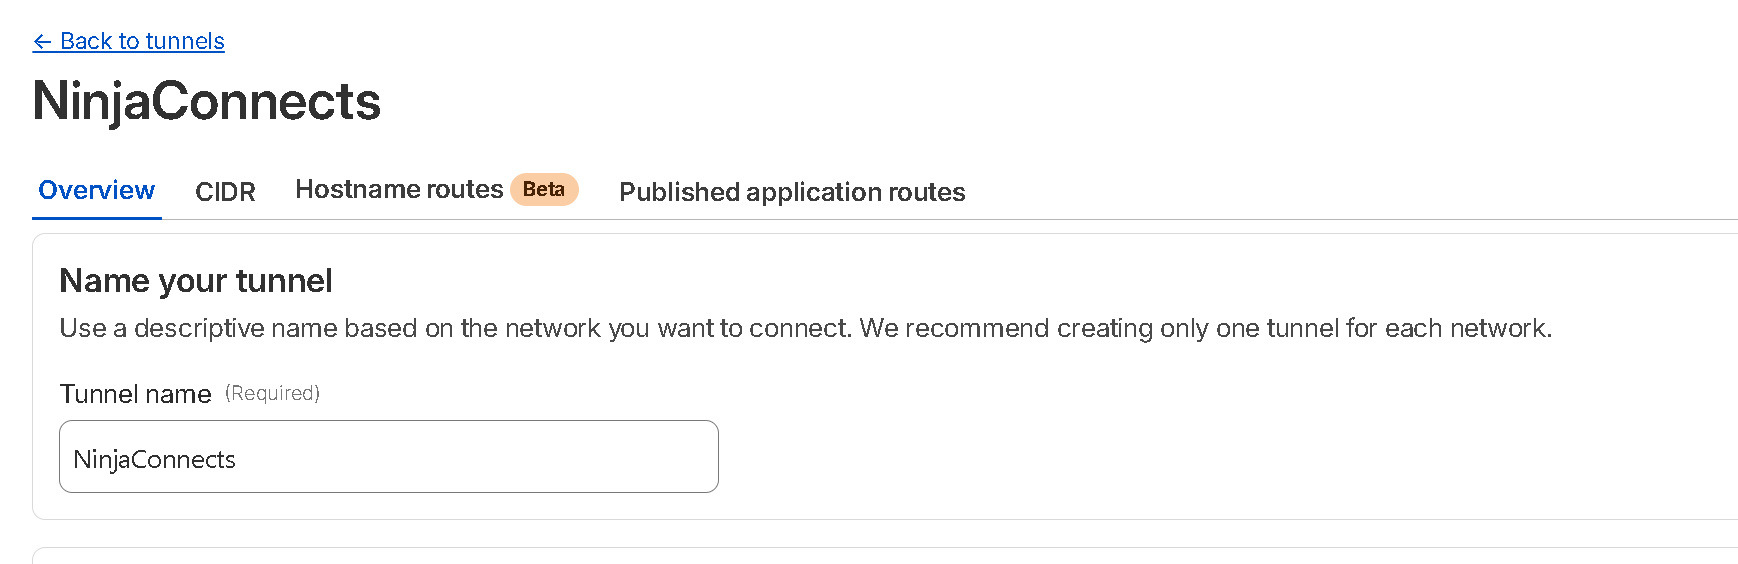
- Enter a name for your tunnel. We suggest choosing a name that reflects the type of resources you want to connect through this tunnel (for example, enterprise-VPC-01).
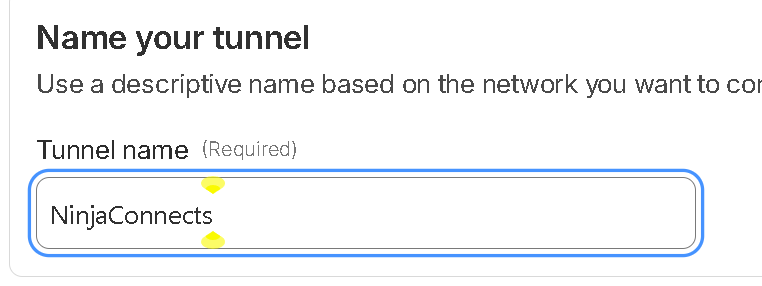
- Select Save tunnel.
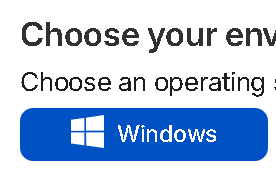
- Next, you will need to install cloudflared and run it. To do so, check that the environment under Choose an environment reflects the operating system on your machine, then copy the command in the box below and paste it into a terminal window. Run the command.
To Download CloudFlared Connector visit: https://github.com/cloudflare/cloudflared/releases/latest/download/cloudflared-windows-amd64.msi
- Once the command has finished running, your connector will appear in Cloudflare One.
- Run the Command Prompt as Administrator.

9. Follow these steps.
- Download https://github.com/cloudflare/cloudflared/releases/latest/download/cloudflared-windows-amd64.msi.
- Run the installer.
- Open Command Prompt as Administrator.
- Click on Copy and Run the following command on your CMD Prompt:
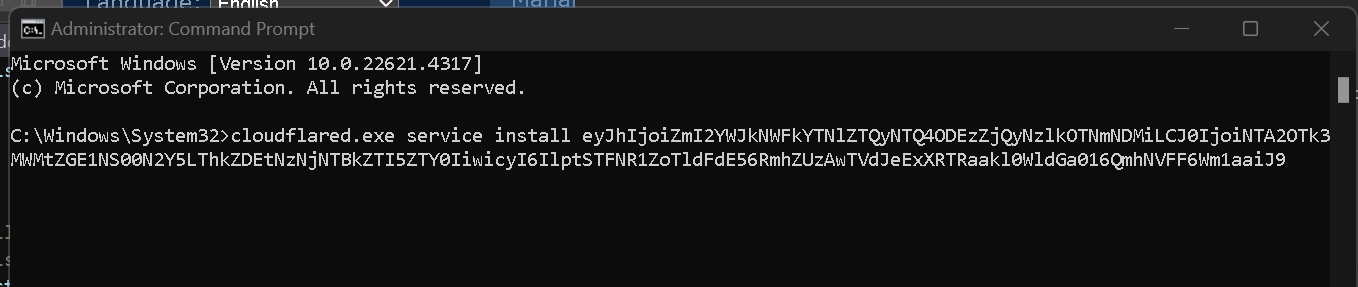
5. Once the command has finished running, your connector will appear in Cloudflare One.
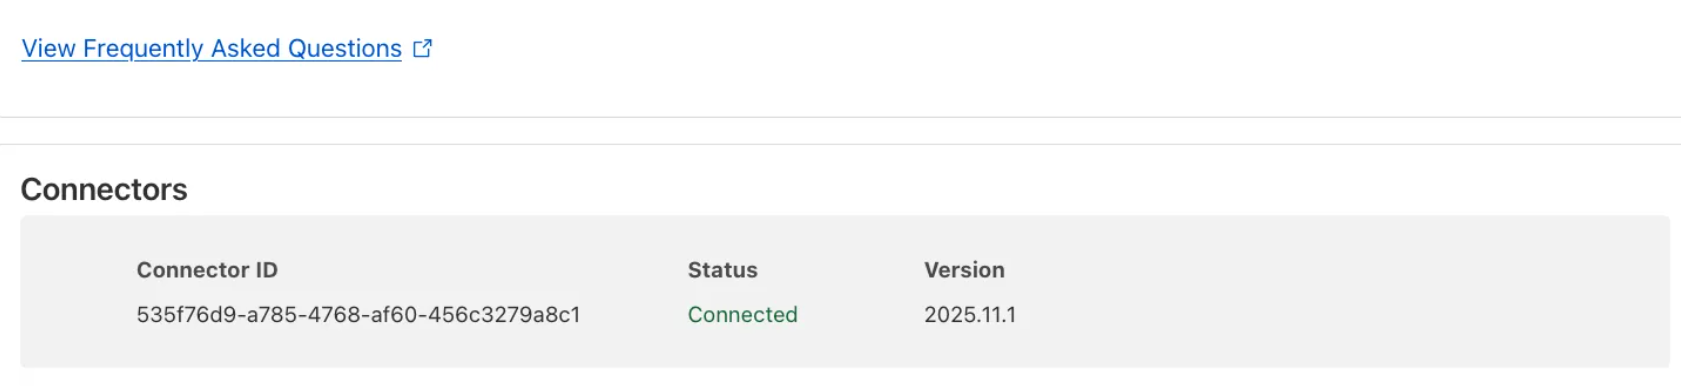
Your tunnel will be visible under Connectors

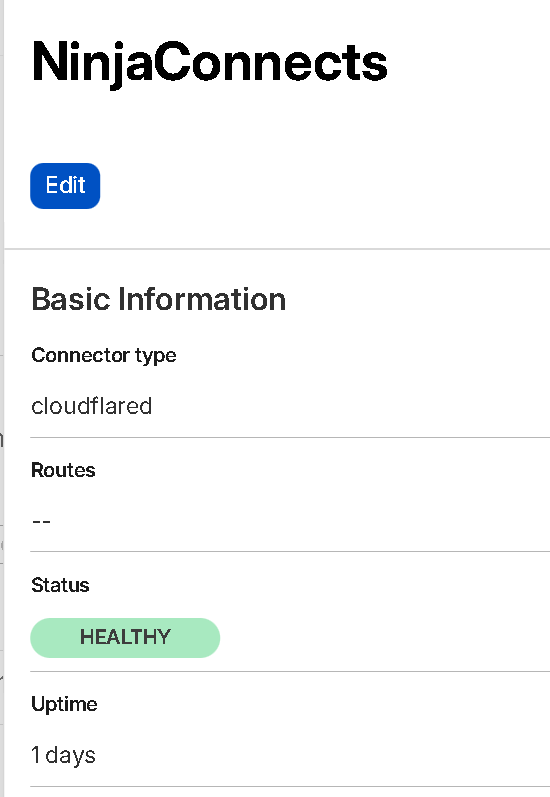
6. Click On Connectors under Network
Click on NinjaConnects to open Edit Panel on to the right and Click Edit
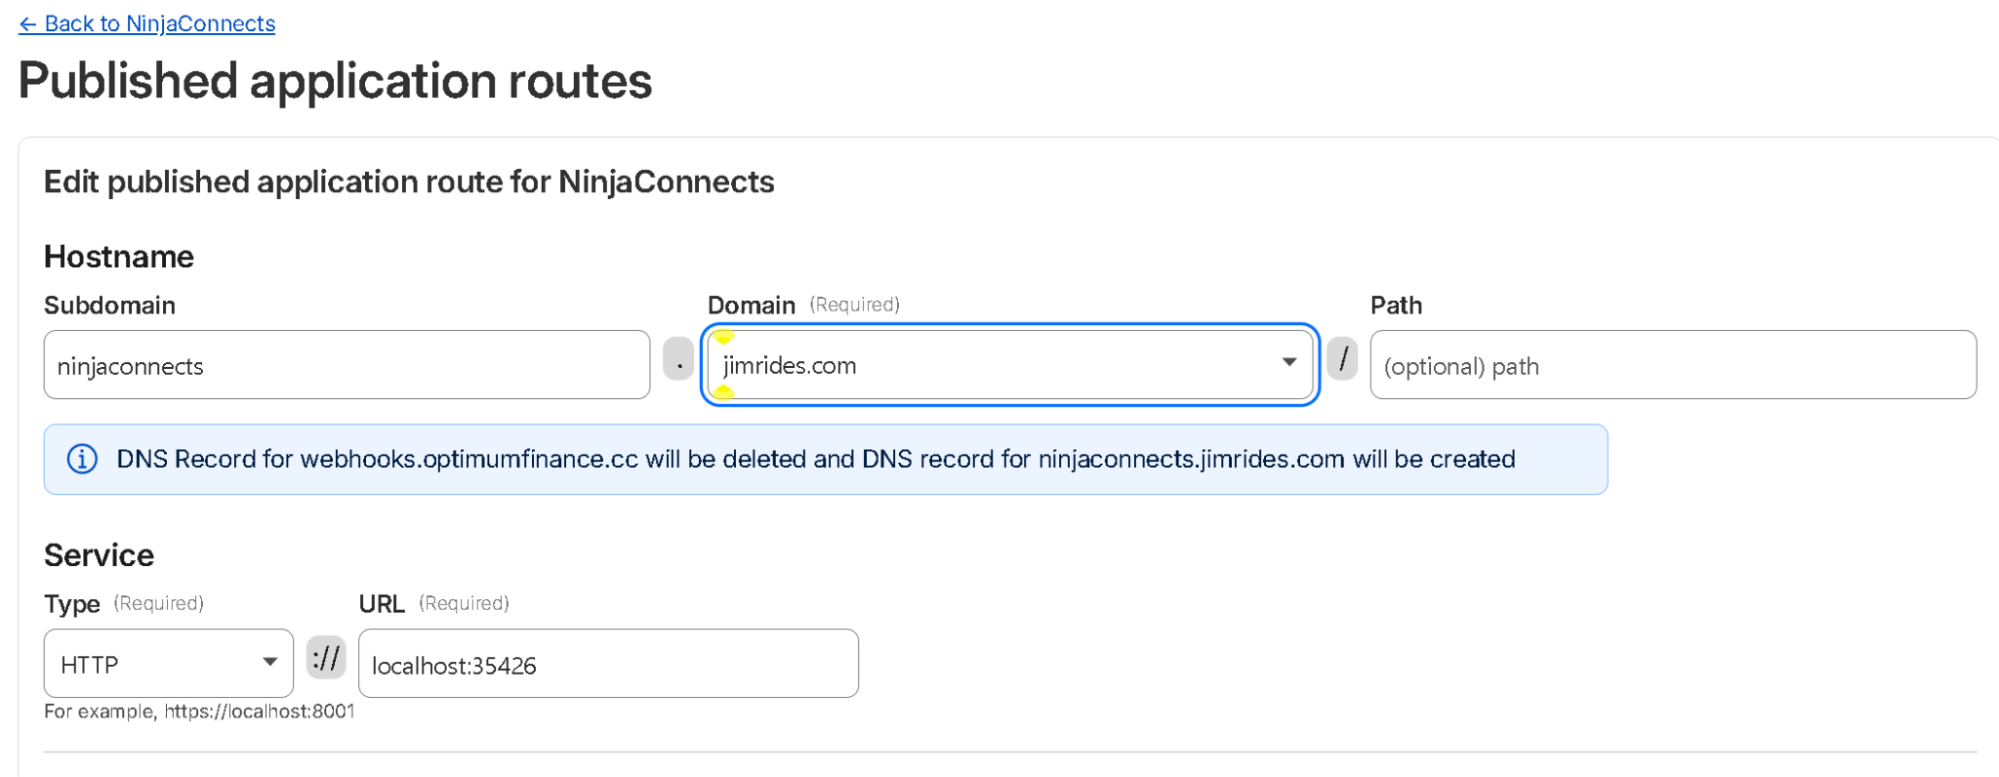
Click on Published Application Route and add A Published Application Route

- Enter a subdomain and select a Domain from the drop-down menu. Specify NinjaConnects subdomain and leave path information blank
Enter information as shown below Change domain to your domain
For local service Type : HTTP
URL: localhost:35426 [This is NinjaConnects detail at your local host.
Run PowerShell as Administrator and run the following command, change JimRides.com with your domain name as shown above to let windows know to pass the traffic from the tunnel to NinjaTrader and let NinjaCoNNects to use this port 35426
Replace Jimrids.com with your Domain. Issue the following command on Windows Power Shell as test orders.
This completes TradingView to NinjaConnects/NinjaTrader setup. Enjoy!